안녕하세요. 행부장입니다.
내용이 많습니다. 읽으시기 전에 공감하트 클릭 부탁드립니다.
2대 이상에서 Visual Studio Code 동기화하며 jupyter, python 코딩하는 방법입니다.( with anaconda3, Git)
Windows10 pro에서 설치하는 방법입니다. (맥OS, 리눅스 부분은 참조만 가능)
1. 해당pc 설치

1) anaconda3 (individual) 설치
2 Git 설치
3) Visual Studio Code 설치
(1) Python extension for Visual Studio Code 설치
(2) Jupyter Extension for Visual Studio Code
(3) python 파일 Run-Start Debuging(F5) 실행 후 python extension(anaconda3 base 선택) 선택
2. VScode 동기화
1) 소스 가져오기(Clone Repository 지정, 필요 시 Github 본인 계정 로그인 필요)
Source Control 아이콘 선택 - Clone from Github에 URL(예. https://github.com/~~~~ )
- 폴더선택(다이얼박스) 해당 폴더 선택
2) 소스 올리기

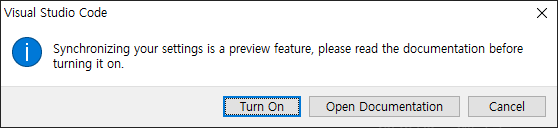
Account - Turn on Settings Sync... 클릭합니다.
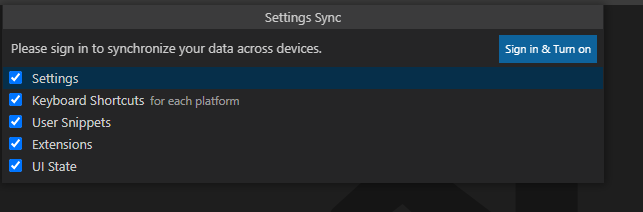
Sign in & Turn on 클릭합니다.
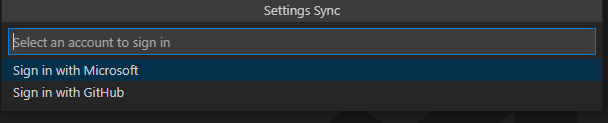
Sign in with Github 클릭합니다. 저는 GitHub를 사용합니다.

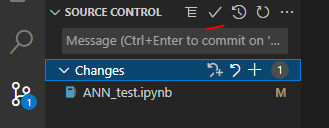
Source Control(Ctrl + Shift + G)에서 진행합니다.
(1) 소스 commit
소스 수정 후, commit 실행

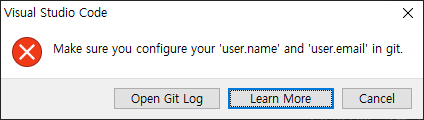
위와 같은 메세지를 보면 아래 Git 설정을 1번 진행 후에, 다시 하시면 됩니다.
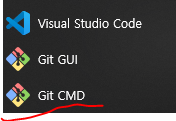
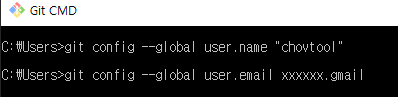
Git CMD를 열어, (참조: https://git-scm.com/book/en/v2/Getting-Started-First-Time-Git-Setup )
>git config --global user.name "yourName"
>git config --global user.email yourEmail
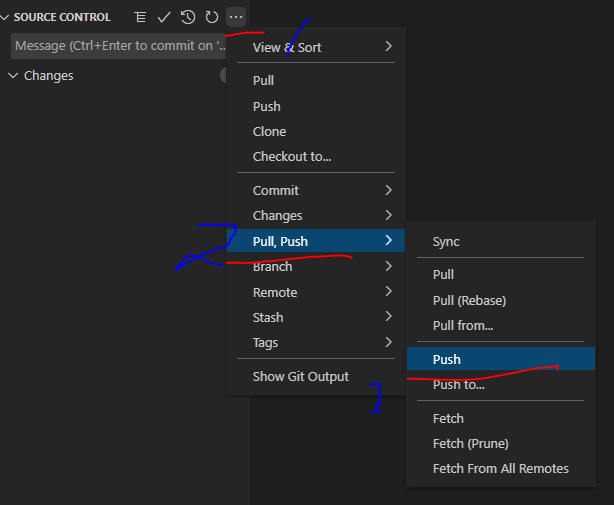
(2) Push(Github에 올리기)
올리는 방법은 Source Sontrol 옆에 ... - Pull, Push - Push (필요 시, Push to... 사용) 클릭합니다.
확인하는 방법으로 GitHub 해당 경로에 들어가 확인합니다.

Jupyter - Visual Studio Marketplace
Extension for Visual Studio Code - Jupyter notebook support, interactive programming and computing that supports Intellisense, debugging and more.
marketplace.visualstudio.com
Python - Visual Studio Marketplace
Extension for Visual Studio Code - IntelliSense (Pylance), Linting, Debugging (multi-threaded, remote), Jupyter Notebooks, code formatting, refactoring, unit tests, and more.
marketplace.visualstudio.com
3. 기본 설치 후, anaconda (base)에 필요한 부분 install 합니다.
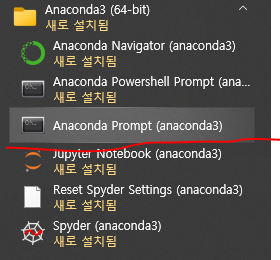
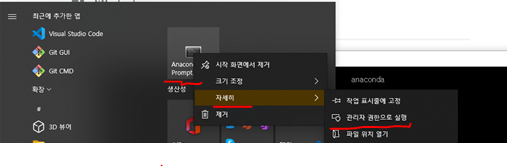
Anaconda Prompt 실행합니다.
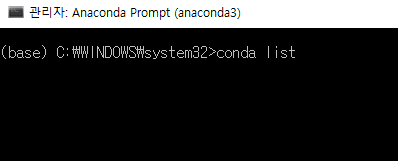
관리자 모드로 실행합니다.(필요 시: 설치 오류 등)
(base) ...> conda list
(base) ...>conda install -c conda-forge xgboost
(base) ...>conda install -c conda-forge lightgbm
(base) ...>conda install scikit-learn
(base) ...>conda install numpy
(base) ...>conda install -c anaconda keras
4. 마치며
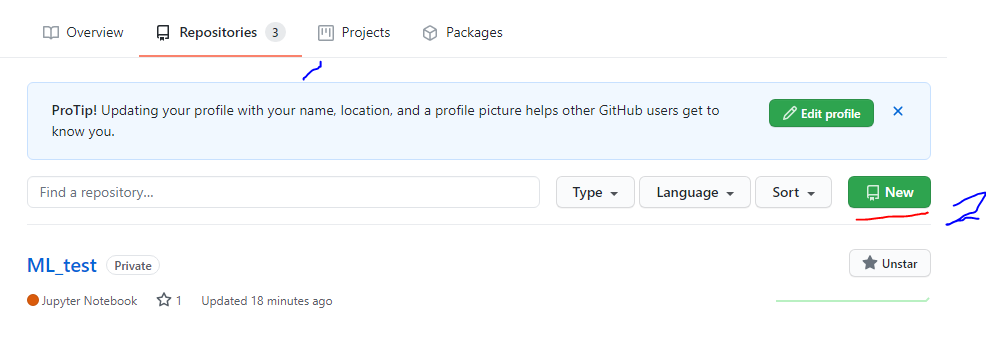
github에 repository 만드는 방법은 생략합니다.
본인 계정으로 로그인하여 repositories 클릭 후에 New 버튼 클릭 후에 진행합니다.(아래 이미지 참조)
도움이 되었다면 아래▼▼▼ 공감하트 클릭, 응원댓글 부탁드립니다.(공감과 댓글은 로그인이 필요 없어요)
감사합니다.


댓글